How to install minGW-w64 on Windows 10
In this blog, I'll show how to install the MinGW-w64-GCC compiler on Windows 10 and run the C and C++ program on Visual Studio Code. If you want to download the VS Code for Windows 10 click on the text given below.
VS Code for Windows 10
To Download MinGW for windows 10 follow steps given below:
Step 1.
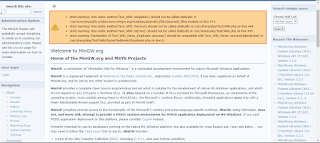
Click on the link given http://www.mingw.org/
Step 2.
Scroll down the page and click on the download\installer button.
As soon as you click on the download\installer button the following page will open and your download will start automatically
Step 3.
An exe file named mingw-get-setup.exe will be downloaded. Now click on the downloaded file. The following dialogue box will open. Click on the Install button.
Step 4.
A new pop up window will be open. Click on Continue.
Step 5.
The following window will open. Wait for the completion of the process and click on Continue.
Step 6.
The following pop up window will open. Please make sure you have selected all the check-boxes.
Now click on the installation button at the top left side and then apply changes. Now, wait for some time until the installation process completes and then close the window.
We have successfully installed MinGW-w64 into our system. Now we'll set the environment variable to use GCC and g++ command from the terminal.
To set the environment variable to follow the steps given below:
Step 1.
Open C driver on this PC. Open the minGW folder and then open the bin folder. Now copy the path.
Step 2.
Right-click on this PC and then go-to properties the following window will appear.
Step 3.
Now click on Advanced System Settings. A new dialogue box will open and click on Environment Variables
Step 4.
The following window will open. Then click on Edit button
Step 5.
Again a new window will open. Click on Edit and paste the path that we have copied and press OK.
Now we ready to make our programs in vs code
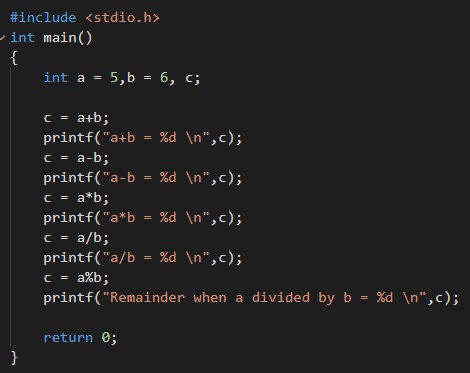
Now your minGW-w64 is ready to use. Open your Visual Studio Code and make a program.


Comments
Post a Comment